Zhiyun Weebill S Review
Why I upgraded to the weebill S
A few years ago I bought a Zhiyun Crane Plus to elevate my car videos. It worked perfectly with my A7III with kit lens. Back then I focused with using light primes like the Sony 28mm F2, Zeiss 55mm F1.8 and Sony 85mm F1.8 which worked fine with that gimbal.
As I did more event work I preferred the versatility of a wide and standard zooms to minimize downtime switching lens. I purchased the Sony 16-35 GM, and Tamron 28-75mm F2.8 which was too front heavy for that gimbal.
When I started to take on real estate gigs, I needed a gimbal that could handle my wide zoom lens. Because I was happy with the Crane Plus I decided to stick with Zhiyun for my gimbal upgrade. The Weebill S caught my eye for being very compact and budget friendly but there wasn’t an official payload number listed. I inquired with Zhiyun to see if the Weebill S could handle my setup and they assured me that it could!
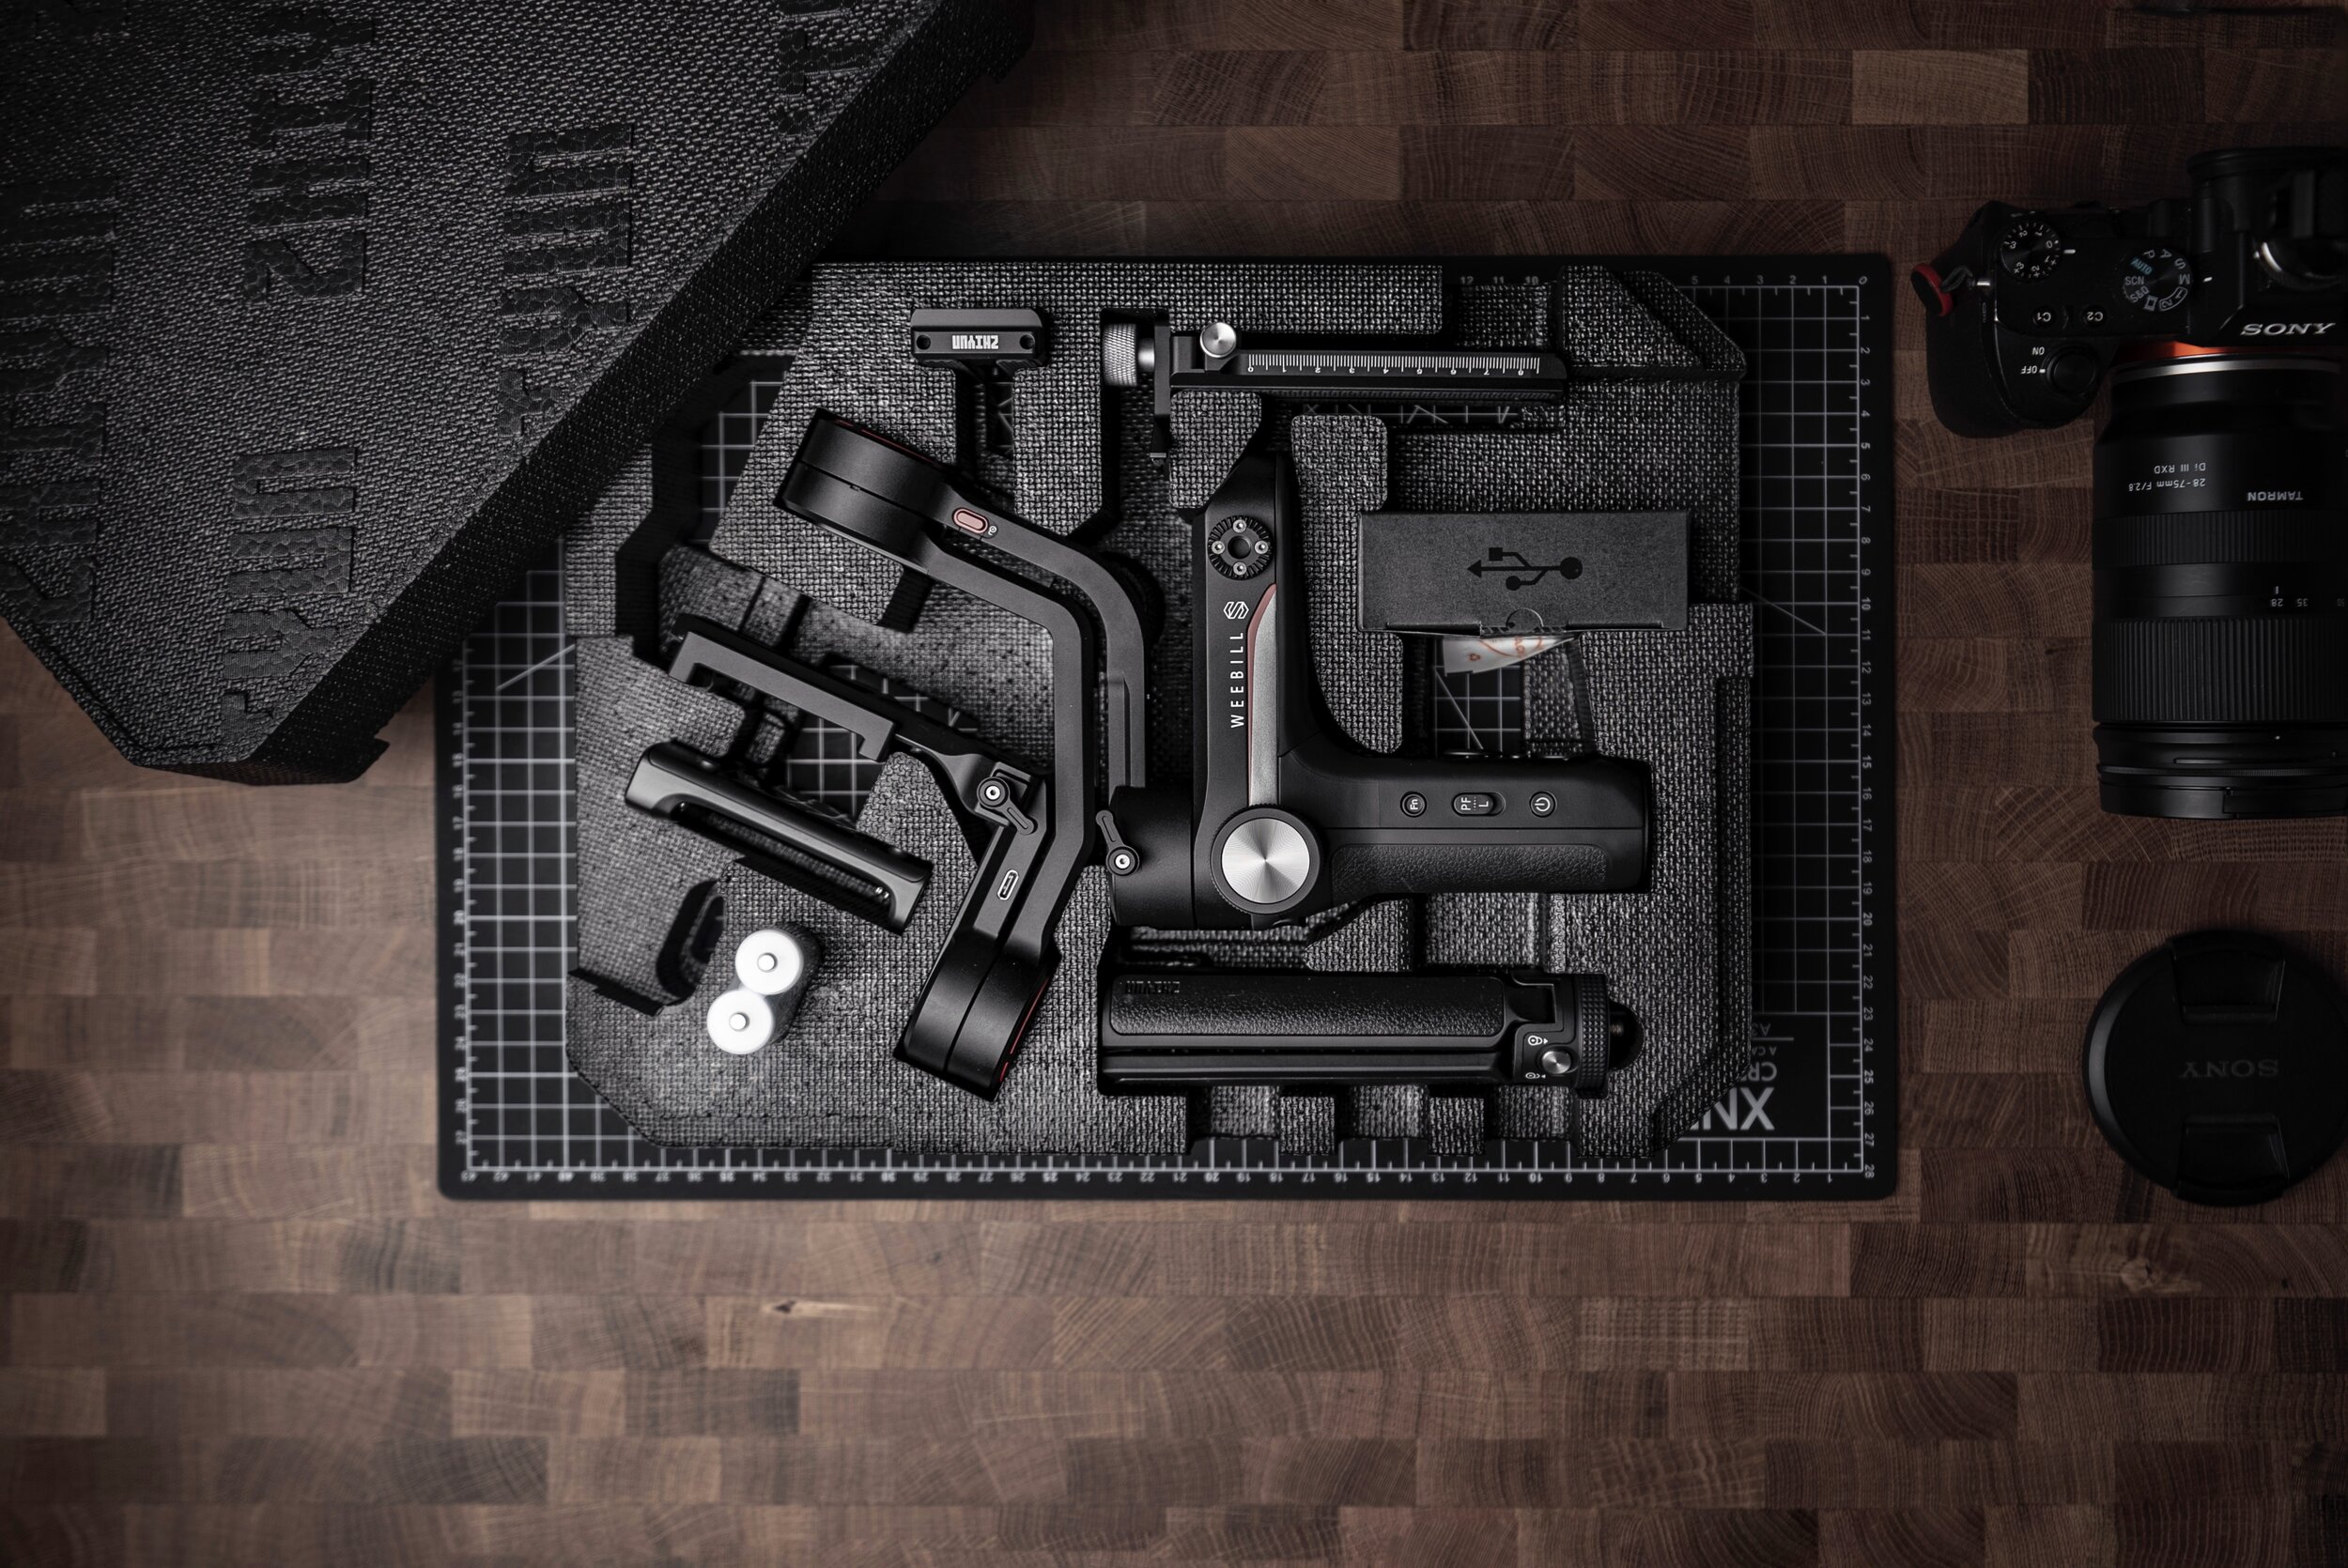
In the image on the left you can see that the Weebill S is even smaller than the Crane Plus. It really lives up to being a tiny giant.
First impression from unboxing:
The first thing that I noticed which was different from the Crane Plus is that it doesn’t come with a hard shell carrying case which I found useful for storing and protect the gimbal. The box it comes in has a handle so it might come in handy to save it. The Weebill S is easy to just throw into any bag so it’s not a deal breaker.
First impression setting up the gimbal:
Since you can lock each axis, the gimbal is easy to get balanced and setup. I was happy I didn’t need to deal with adding counterweights to get it balanced with my A7SIII and 16-35GM. Their quick release system to mount the camera allows me to balance the gimbal ahead of time, fold the gimbal back down and throw everything into my camera bag. When I’m ready to shoot, I simply need to unlock the axis, mount the camera and I’m ready to go. This is a game changer for me to be shoot ready asap.
FIRST IMPRESSION USING THE GIMBAL:
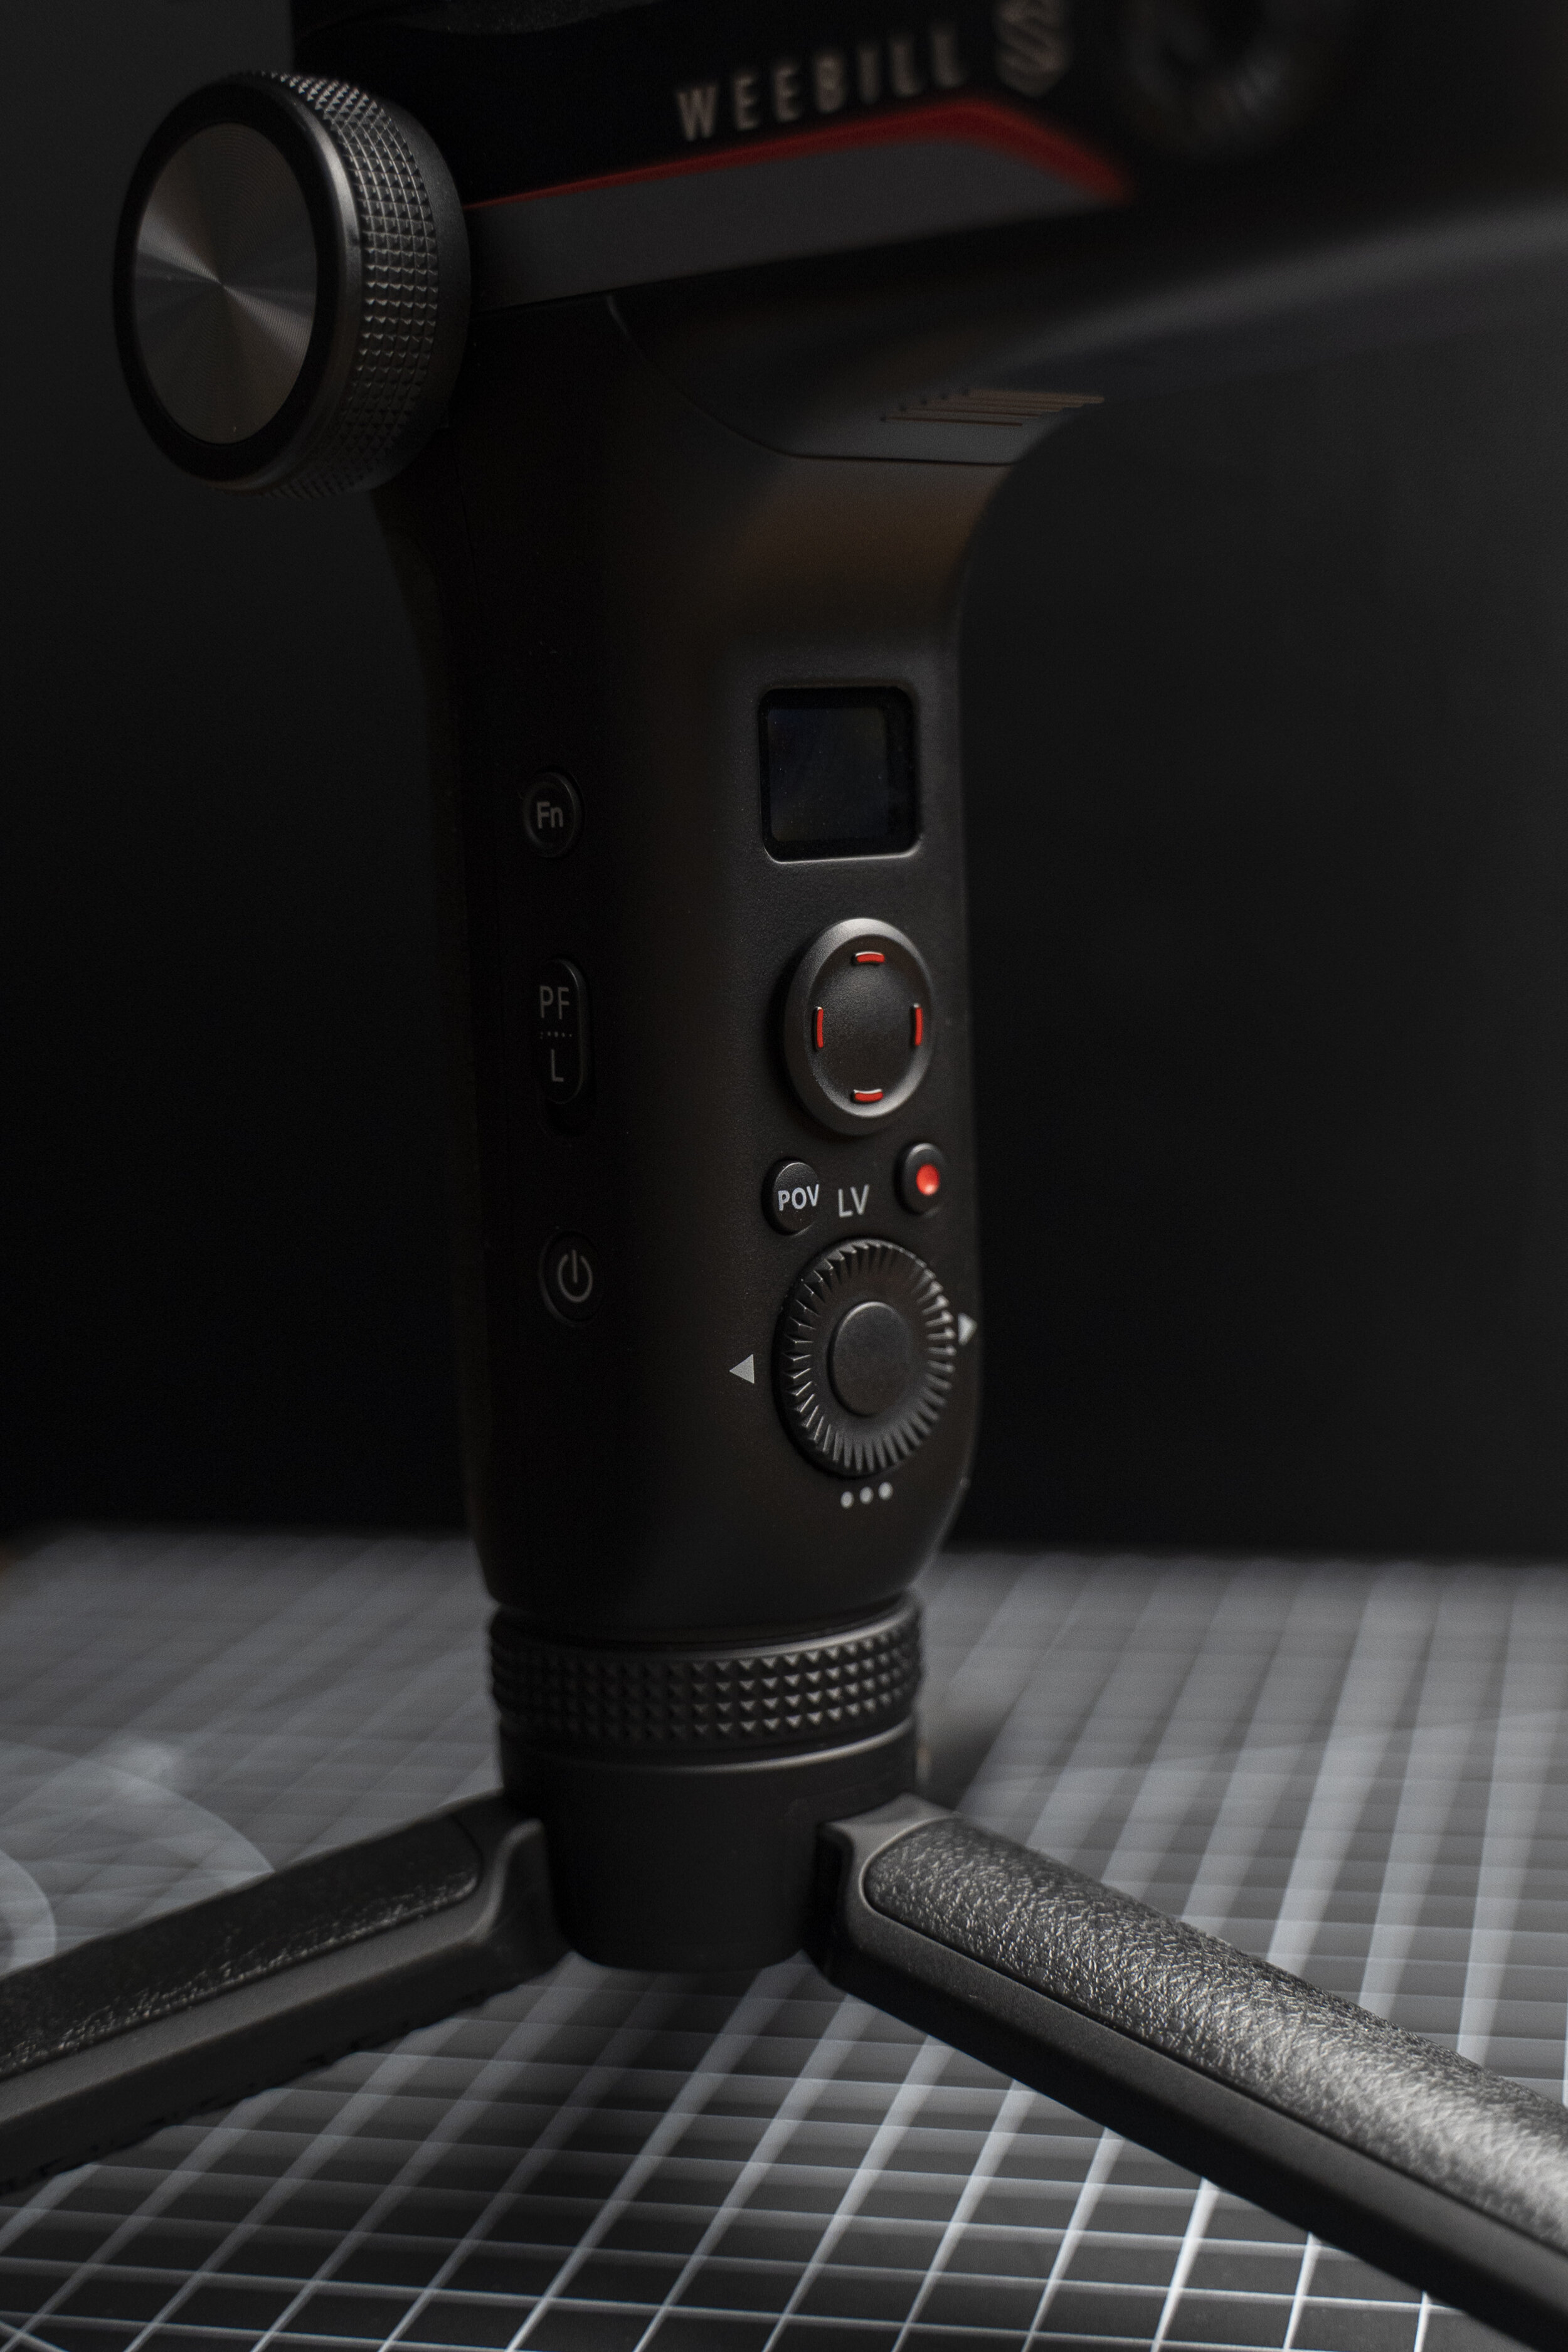
I’ve had the Weebill S for a week and took it on 2 car shoots. I love how there is an OLED display to show which mode I am in and also have the ability to change gimbal settings on the fly without having to use an app. Below is some behind the scenes of me shooting Genesis’ first SUV, GV80.
The form factor of the Weebill S is very unique and natural to operate. It’s smooth when transitioning from eye level to ground level. Having a compact gimbal made it easier to shoot inside the car. After seeing how smooth the footage turned out, I have no complaints about how the gimbal performs with stabilizing.
My only feedback is that it is a bit of a hassle to switch the tripod legs between the two positions. It would be nice to have a twist and lock system built in. They do sell a TransMount quick release kit which would do this. The only thing is you’ll need to purchase 2 of these to make it work which adds $50 USD to the sticker price. Since I didn’t have the quick release mount, I ended up using the tripod legs from the Crane Plus to give me a longer grip at both mounting positions.
overall impressions of zhiyun’s weebill s:
Overall the Weebill S does everything I need in a small and compact body. The unique design of the Weebill S makes it as compact as an A4 piece of paper. Easy to throw into any backpack for travel.
The price of the Weebill S is very good compared to the competition. It’s only $400 CAD while the competition is $520 CAD. The payload capacity for a $400 gimbal is one of it’s biggest selling points.
I like the tripod legs in the Weebill S over the Crane Plus because it has this rubberized texture to give it more grip and soft touch while the Crane Plus is all metal and more slippery.
There is a lot of plastic but it doesn’t feel cheap. The plastic helps keep the cost and weight down over using a fully metal construction.
If you’re just starting out and looking to buy your first gimbal this is a great one that can future proof you even when your setup gets heavier in the future.


